Train full body, three times a week, using five foundational movements: push-ups, rows, dips, squats, and core holds. Scale each one by changing your body angle or hold time, not by adding weight. That’s the entire starting formula. Everything else in this guide just shows you how to execute it without wasting your first month guessing.
TL;DR:
Every effective beginner calisthenics program builds around the same five movement patterns. Health experts point to push-ups, inverted rows or pull-ups, dips, leg raises, and bodyweight squats as the foundation worth mastering before anything fancier. Here’s how to scale each one at home with zero equipment.
Mixing higher-rep sets with slower, controlled holds gives you both a strength base and better movement control early on, which matters more than most beginners realize when they’re tempted to rush.
A simple workout routine can help you see real progress. The 3-3-3 workout framework has caught on for good reason: several workouts per week, a few exercises per session, multiple sets per exercise. It’s simple enough to actually stick to, and that consistency is what drives results.
Train the same session structure Monday, Wednesday, and Friday, and let weekends be recovery. Because it’s a beginner calisthenics program built on frequency rather than intensity, you’ll notice movement quality improving well before the mirror shows anything.
Calisthenics scales through angle and leverage instead of adding plates, which is exactly what makes it so approachable for training without hurting yourself in your first year. Change the angle of your body relative to the ground, slow your tempo, or use an assisted variation, and the exercise gets easier or harder without touching a dumbbell.
The progression rule is simple: once you can complete your full rep target with clean form across every set for two workouts in a row, move to the next variation. Rushing past this checkpoint is the fastest way to build bad habits into your form.
Pro Tip: Film your last set on your phone. Form usually breaks down right before you feel it, and a 10-second clip will show you exactly where.
If you want an even gentler ramp before bodyweight-only work, a resistance band beginner plan can bridge that first gap in pulling strength.
Skipping the warm-up is the single most common way beginners hurt themselves in week one. Spend 5 to 10 minutes on wrist circles, shoulder rolls, leg swings, and hip openers before touching your first rep.
Your muscles need roughly 48 to 72 hours to recover after real strength work, which is exactly why a 3×/week full-body split works so well. It hits each muscle group more often than a once-weekly split while still leaving full rest days between sessions. Sleep and adequate protein matter here too. Your body rebuilds tissue while you’re asleep, not while you’re training.
Real strength changes happen over weeks, not days, so resist the urge to skip ahead before your body’s ready. Here’s a traceable month you can actually follow.
Track each session with a quick checklist: exercises done, reps hit, and whether form held on the last set. That single habit tells you exactly when it’s time to move up, and it beats guessing every time.
For a longer path once the month wraps up, Onemor’s bodyweight strength program picks up right where this plan leaves off.
This plan comes from Onemor coach Alb, built around the same guided structure used inside the Onemor app: timed sets, rep targets, and streaks that keep beginners showing up consistently.
You don’t need a complicated diet plan to build strength through bodyweight training. What you do need is enough fuel to recover between sessions, and that starts with protein. Aim for a source of protein at most meals, whether that’s eggs, chicken, beans, Greek yogurt, or a protein shake if you’re short on time. Protein is what your body uses to repair the muscle fibers you just broke down during push-ups and rows.
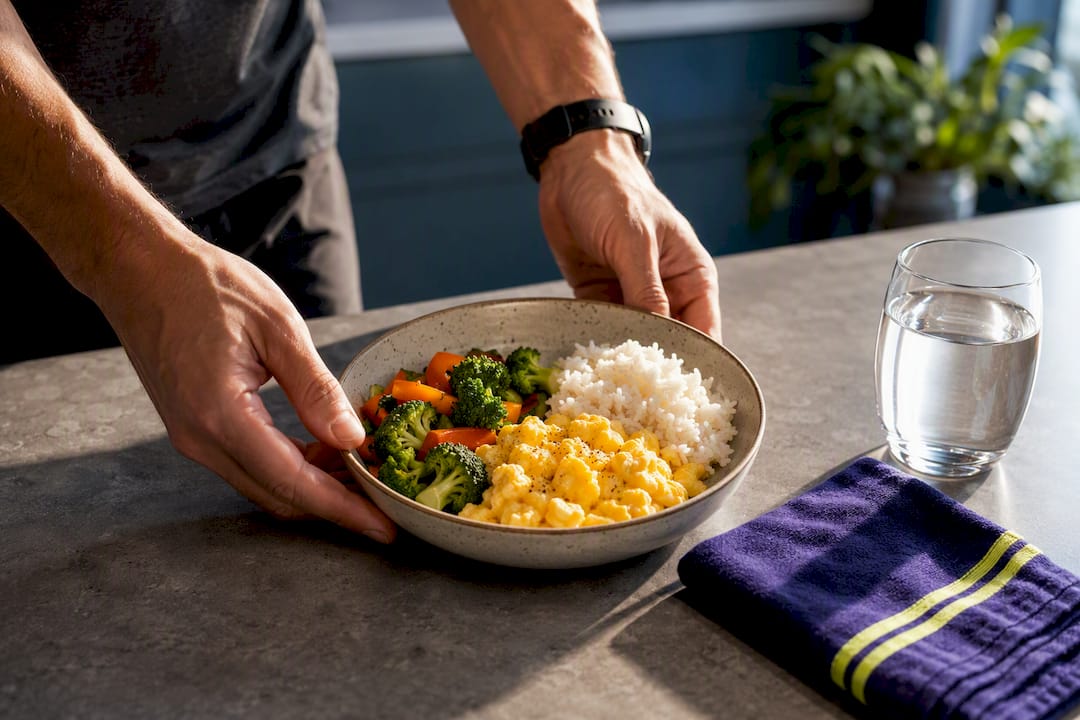
Carbohydrates matter more than beginners give them credit for. They refill the energy stores your muscles burn through during sets, especially on training days. A meal with rice, oats, or fruit an hour or two before training can make the difference between a strong session and one where you’re gassed by exercise two.
Hydration is easy to overlook and easy to fix. Even mild dehydration makes exercises feel harder and recovery slower, so keep water nearby during every session, not just on hot days.
You don’t need to overhaul your entire plate to support a 3×/week routine. Consistent meals with a protein source, some carbs, and vegetables will carry you through your first few months of training just fine. Save the fine-tuning for later, once training itself has become a habit worth optimizing.
Vague goals like “get stronger” rarely survive past week two. Specific, measurable targets do. Instead of “get better at push-ups,” aim for something concrete: “complete 3 sets of 12 standard push-ups with clean form by week 6.”
Write your starting numbers down before you begin. How many push-ups can you do right now with good form? How long can you hold a plank? These baseline numbers are the only way to actually see how far you’ve come, because memory alone will trick you into thinking you haven’t improved.
Track three things after every session: which variation you used, how many reps you hit, and whether your form held on the final set. That’s it. You don’t need a spreadsheet with twelve columns, just enough detail to know when you’re ready to progress and when you need another week at the same level.
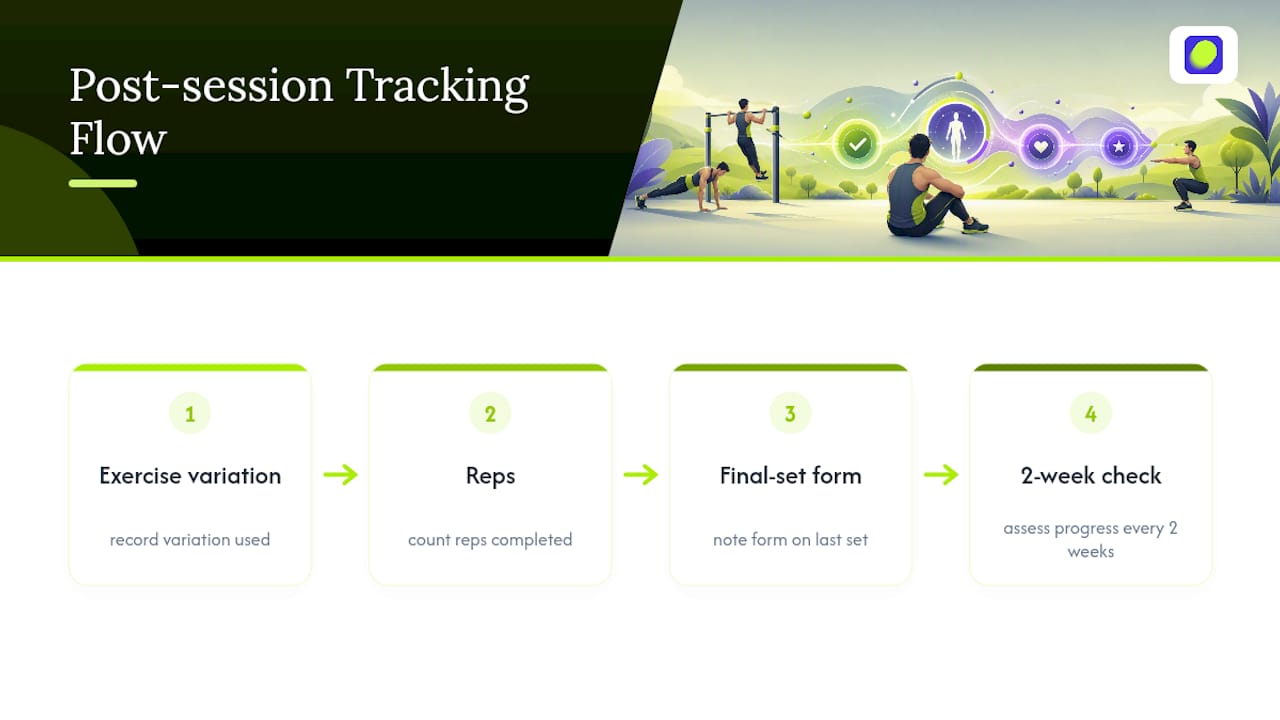
Check in every two weeks rather than every session. Strength gains in calisthenics show up gradually, and daily check-ins tend to create frustration rather than motivation. A two-week window gives your nervous system and muscles enough time to actually show a measurable shift.
Everything above works on its own with nothing but floor space and a chair. But if you’d rather follow a guided session than track sets on a notepad, that’s exactly what the Onemor app was built for. It turns this exact five-movement structure into coach-led workouts with built-in rep counters, rest timers, and real-time form cues, so you’re never wondering if you’re doing enough or too much.
You’ll also get streaks and tribe challenges that make showing up three times a week feel like less of a chore and more like something your friends are doing alongside you. Coaches like Coach Wilbert and Coach Kayla build beginner programs around this same progression logic, just with a person guiding the pace for you.
The plan in this guide works whether or not you ever open the app. But if you want the structure done for you, find your program and start your first guided session today.