The most effective bodyweight strength program for beginners is a 3×/week full-body routine built around push, pull, squat, hinge, and core patterns, with one non-negotiable rule: track every set, rep, and tempo so you can apply progressive overload every single session. You can start today with what you have. No gym, no plates, no excuses.
Here’s what your first week looks like:
The single progression rule that makes this work: pick one path (add 1 rep, slow the eccentric by 1 second, or move to a harder leverage variation) and apply it every session until you plateau. Steven Low’s programming guidance recommends 2–3 pushing and pulling exercises for balanced strength work, and that principle shapes every template in this guide.
Pro Tip: Add a pull-up bar within your first two weeks. Push-ups can load up to roughly 75% of your bodyweight depending on hand and foot position, but pulling strength is the gap most beginners leave wide open. A $20–30 doorframe bar unlocks rows, scapular pulls, and eventually full pull-ups, which are the highest-value movements in any no-equipment strength plan.
Eight weeks is long enough to build a real strength base and short enough to stay motivated. The structure below gives you two options: 3 days per week if you’re just starting out, and 4 days per week once you’re comfortable with the movements and want more volume.
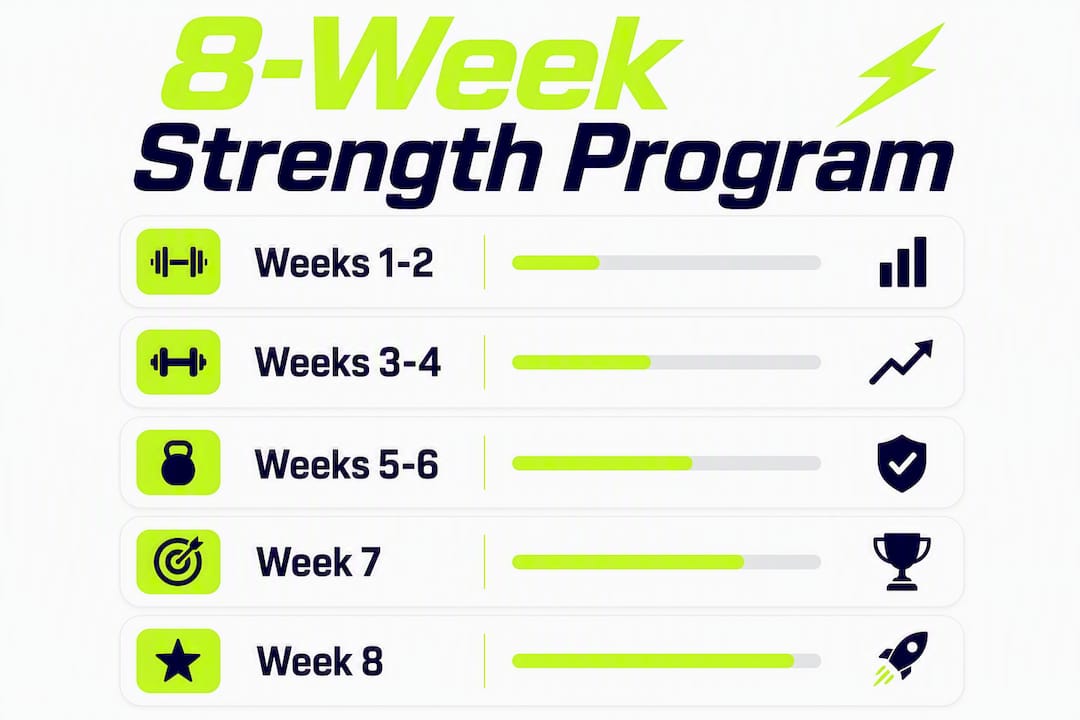
The 3×/week plan trains your full body each session with slightly higher per-session volume. The 4×/week plan splits into upper and lower days, spreading volume across more sessions and allowing more recovery per pattern. Both produce results. The 3× option is better if you’re new to structured training or have a busy schedule. The 4× option suits you once you’ve completed weeks 1–4 and want to add frequency without burning out.
Weeks 1–2 (Foundation): Three full-body sessions. Focus on movement quality over reps. Use the easiest regression for each pattern. Rest 90 seconds between sets.
Weeks 3–4 (Volume build): Add one set to your main lifts (go from 3 to 4 sets on push and pull). Begin tracking RPE (rate of perceived exertion) on a 1–10 scale. Aim for RPE 7–8 on your last set.
Weeks 5–6 (Progression): Move to a harder variation on at least one movement per session. Slow your eccentric (lowering) phase to 3 seconds. Rest drops to 60–75 seconds on accessory work.
Week 7 (Intensity peak): Highest volume week. Push rep targets to the top of each range. Add a fourth day if you’re on the 3× plan and feeling strong.
Week 8 (Deload): Reduce training intensity by 20–30%. Keep the same exercises but cut sets by one and drop reps to the bottom of each range. This consolidates your gains and prepares you for the next training block.
Every session follows this order: warm-up (5–10 min) → skill work (5 min) → main strength sets → accessory → core → cooldown.
3×/week full-body session example (weeks 3–4):
4×/week upper/lower split example (weeks 5–6):
This is the question that separates people who plateau after six weeks from those who keep progressing for years. The answer is that bodyweight training uses leverage, tempo, and variation the same way barbell training uses plates. You’re always adding load. You’re just doing it differently.
Horizontal push: Incline push-up → standard push-up → close-grip push-up → archer push-up → pseudo planche push-up
Vertical push: Pike push-up → elevated pike push-up → wall handstand push-up → freestanding handstand push-up
Horizontal pull: Towel row → incline inverted row → inverted row (feet elevated) → archer row
Vertical pull: Dead hang → scapular pull → negative pull-up → banded pull-up → full pull-up → weighted pull-up
Squat/single-leg: Air squat → Bulgarian split squat → shrimp squat → pistol squat
Hinge: Glute bridge → single-leg glute bridge → Nordic curl regression → single-leg Romanian deadlift
Core/anti-extension: Plank → hollow body hold → hollow body rock → L-sit → tuck L-sit → full L-sit
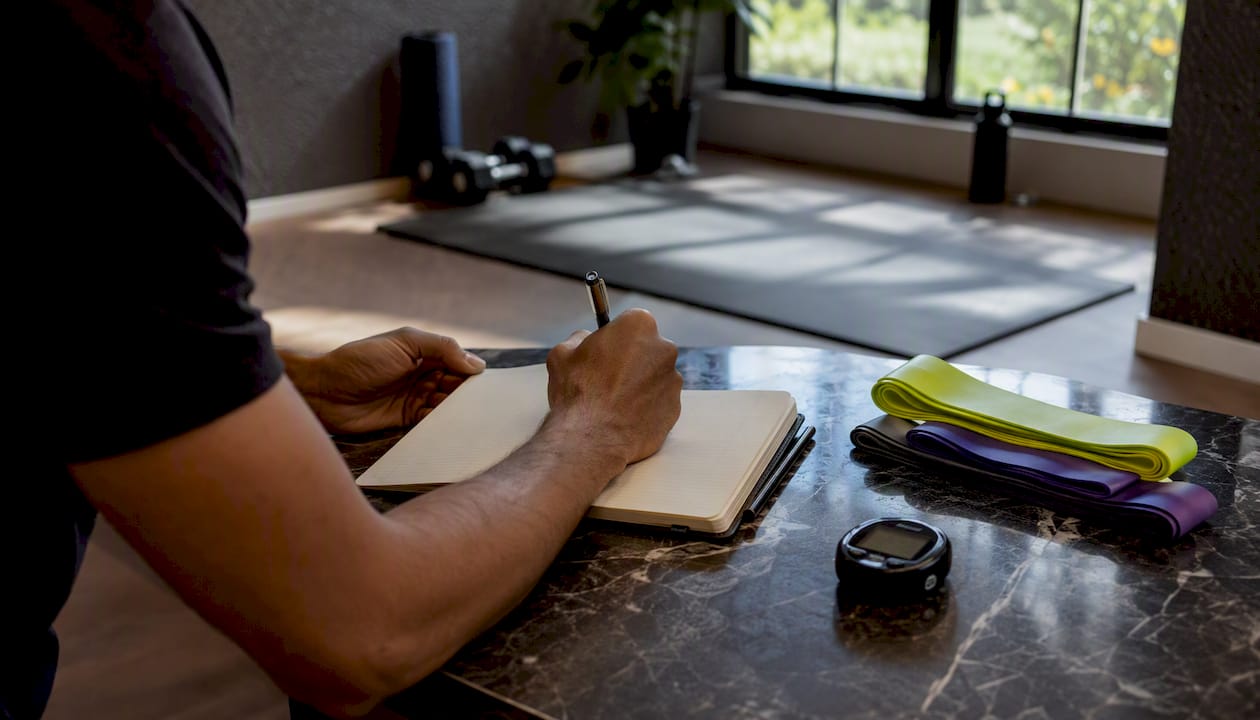
Fitness professionals are clear: without consistent tracking, there is no reliable progressive overload in bodyweight training. Before each session, open your log and ask:
Simple tracking template per session:
Pro Tip: Prioritize hard, tracked sets over high-rep untracked volume. Four sets of 10 archer push-ups logged with tempo and RPE will build more strength than 100 casual push-ups you forget by tomorrow.
A solid no-equipment strength plan covers seven movement patterns. Here’s the reference you need, organized by pattern, with regressions, standard variations, and progressions for each.
Regression: Incline push-up (hands on a chair or countertop). Cue: keep your elbows at 45 degrees from your torso, not flared wide.
Standard: Push-up. Cue: squeeze your glutes and brace your core so your hips don’t sag. Push-ups load a significant portion of your bodyweight depending on hand and foot position, making them genuinely effective for upper-body strength.
Progression: Archer push-up, then pseudo planche push-up. Cue: for the archer, keep the extended arm straight and actively push the floor away.
Regression: Pike push-up from the floor. Cue: stack your hips over your shoulders as much as possible.
Standard: Elevated pike push-up (feet on a chair). Cue: lower your head between your hands, not in front of them.
Progression: Wall handstand push-up. Cue: keep your core tight and avoid excessive lumbar arch.
Steven Low recommends treating pulling work with the same priority as pushing. Most beginners neglect it because it requires a bar or a creative substitute.
Regression: Towel row using a door handle, or incline inverted row with a table. Cue: retract your shoulder blades before you pull, not during.
Standard: Inverted row (feet on floor). Cue: your body stays rigid from head to heel.
Progression: Inverted row with feet elevated, then negative pull-up, then full pull-up. Cue for scapular control: initiate every pull by depressing and retracting the shoulder blades first.
Regression: Box squat or air squat. Cue: push your knees out in line with your toes throughout the movement.
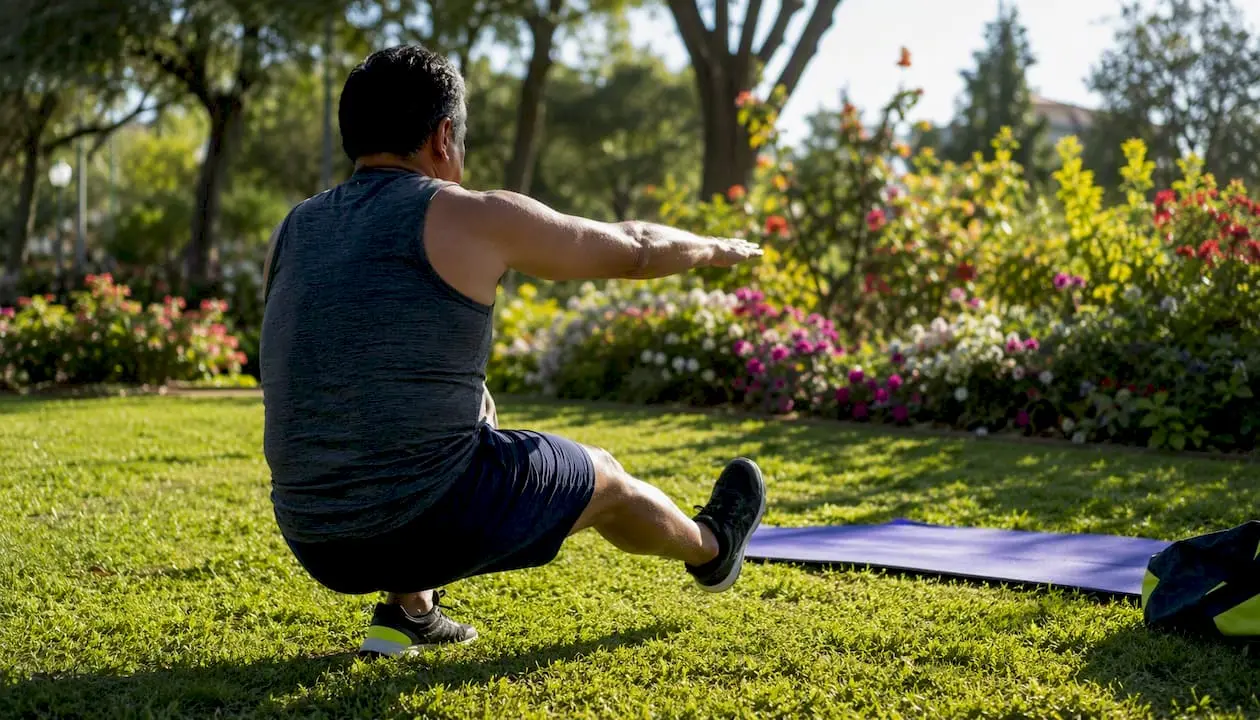
Standard: Bulgarian split squat. Cue: keep your front shin as vertical as possible and drive through the heel.
Progression: Shrimp squat, then pistol squat. Steven Low notes that unilateral progressions like pistol squats and shrimp squats are the primary path to continued lower-body stimulus without weights.
Hinge regression: Glute bridge. Standard: single-leg glute bridge. Progression: Nordic curl regression (anchor feet under a couch, lower slowly).
Core: Progress from plank to hollow body hold to L-sit. For the L-sit, start with tuck L-sit holds on the floor using push-up handles or two stacked books. Cue: depress your shoulders fully before lifting your hips.
Handstand and L-sit progressions fit naturally into the skill slot at the start of each session. Keep skill work to 5–10 minutes so it doesn’t eat into your strength sets. For cross-training applications, like surfing or other athletic sports, bodyweight strength transfers directly to sport performance through improved stability and relative strength.
A pull-up bar is the single most valuable piece of equipment you can add. Rings, if you have access, unlock rows and dips at every angle. A towel looped over a door handle works for rows when nothing else is available.
A good warm-up does two things: raises your core temperature and primes the specific movement patterns you’re about to train. Five to ten minutes is enough when you do it right.
General movement (2 min):
Joint rotations and dynamic flexibility (3–5 min):
Pattern-specific activation (2 min):
Injury prevention and load management:
Post-workout cooldown (5 min):
Three days per week is the right starting frequency for most beginners. It gives you enough stimulus to adapt and enough recovery to actually show up consistently. Four days per week makes sense once you’ve built a base and want to increase volume without lengthening individual sessions.
3× per week works best if you’re new to structured training, training after a long break, or managing a demanding schedule. Full-body sessions mean every pattern gets hit three times weekly, which is plenty for early-stage neural and strength adaptations.
4× per week suits you once weeks 1–4 feel manageable. The upper/lower split lets you put more total sets into each pattern across the week while keeping individual sessions shorter and more focused.
Sleep is your most powerful recovery tool. Aim for 7–9 hours. Protein intake matters too: most strength-focused guidelines suggest 0.7–1 gram per pound of bodyweight per day to support muscle repair and growth. You don’t need to be precise, but you do need to be consistent.
Auto-regulation means adjusting your session based on how you feel. If your RPE on a warm-up set is already 8, reduce your working sets that day. If you feel strong, push to the top of your rep range. This is not an excuse to skip hard work. It’s a system for training smarter over months.
Schedule a deload every 4–6 weeks. Cut volume by 20–30%, keep the movements the same, and let your body consolidate the gains. Most people skip deloads and then wonder why they plateau.
4 weeks: Noticeable improvement in movement quality and coordination. Push-up and squat form will feel more natural. You may add 2–4 reps to your working sets.
8 weeks: Measurable strength gains. Most beginners can progress 1–2 variation levels in their main movements. Muscle definition may begin to appear, particularly in the upper body.
12 weeks: A real strength base. You’ll likely be doing full push-ups, inverted rows, and split squat variations with confidence. Leg hypertrophy from bodyweight alone starts to slow at this point, which is when adding a dumbbell or kettlebell for hinge and squat work becomes worth considering. A dumbbell-only workout plan is a natural next step when you’re ready to add external load.
Most plateaus have the same three causes: not tracking, not progressing, and not pulling enough. Here’s how to diagnose and fix each one.
Not tracking sets and reps:
Staying in high-rep, low-difficulty territory:
Ignoring pulling work:
Poor progression selection:
Plateau diagnostic flow:
When to seek coaching or medical evaluation:
Yes, and the mechanism is well understood. Research reviewed by Human Kinetics explains that bodyweight training drives both neural adaptations (your nervous system learns to recruit more muscle fibers) and hypertrophic adaptations (muscle fibers grow in response to sufficient tension and time under tension). For untrained individuals, bodyweight protocols can match barbell training for strength and muscle gains.
The key variables are the same as any strength training: progressive overload, sufficient volume, and adequate recovery. What changes is how you apply overload. Instead of adding plates, you manipulate leverage, tempo, and variation. A PMC study comparing progressive bodyweight training to barbell back squats in sedentary young women found both groups improved in strength and hypertrophy, with the bodyweight group progressing through 10 levels of movement from bilateral to unilateral.
Functional strength is as much neurological as it is muscular. As you advance, calisthenics becomes a technical skill. The leverage changes and instability work you add over time keep the neuromuscular challenge high, which is why advanced practitioners can continue building strength for years without a single barbell.
The honest caveat: leg hypertrophy from bodyweight alone does plateau faster than upper-body development. Once you’re doing pistol squats and Nordic curls, adding a kettlebell or dumbbell for hinge work is a smart move, not a failure of the program.
Tracking is the credibility signal that separates real progress from the illusion of it. Recording sets, reps, and tempo is the only reliable way to confirm you’re applying progressive overload when you don’t have external plates to measure against. The best bodyweight apps make this tracking automatic, with timers, set logs, and progression cues built into each session.
A structured bodyweight strength program built on tracked progressions, push/pull/squat balance, and scheduled deloads produces measurable strength and muscle gains for beginners within 8–12 weeks.
Here’s what most fitness content gets wrong about bodyweight training: it treats it as a fallback. Something you do when you can’t get to the gym, or when you’re traveling, or when you’re “not serious yet.” That framing is backwards, and it’s the reason most people never get real results from it.
The trainees who make consistent progress with a no-equipment strength plan treat it exactly like barbell training. They show up on scheduled days. They log every set. They progress deliberately. They deload. The physical principles are identical. The only difference is the tool.
What I find genuinely underrated about bodyweight training is the feedback loop it creates. When you slow a push-up eccentric to 4 seconds and feel your chest and triceps working in a way they never did during fast reps, you understand muscle tension in a way that translates to every other training modality. The leverage work teaches you body awareness that most gym-goers never develop.
The habit side matters just as much as the programming side. Small wins compound. Hitting a new variation for the first time, adding one rep to a set you’ve been stuck on, completing a full week without missing a session: these are the moments that build the identity of someone who trains consistently. Streaks, weekly reviews, and training with a partner or a community all reinforce that identity. The program is the map. Consistency is the vehicle.
You now have the full program: two templates, eight weeks of structure, progression ladders, a tracking system, and a deload plan. The hardest part isn’t knowing what to do. It’s showing up consistently and progressing with intention every session.
That’s exactly what Onemor is built for. The app gives you coach-led bodyweight sessions with built-in set/rep timers and rest countdowns, so you’re not managing a spreadsheet between sets. Coaches like Jahson and Kayla lead structured programs that map directly to the push/pull/squat framework in this guide, with progressions built in so you’re never guessing what comes next.
The streak system and XP keep you accountable between sessions, and the tribe challenges connect you with other people training toward the same goals. That social layer is what turns a good program into a habit you actually keep. Start your first tracked session on Onemor today, free on iOS.