Aim to squat to thighs parallel, or slightly below, only when you can keep a neutral spine and keep your heels flat on the ground. That single rule matters more than chasing a number. Try a bodyweight squat in front of a mirror or on video right now: if your lower back rounds or your heels pop up before you reach parallel, that’s your current limit, and it’s a great starting point, not a failure.
TL;DR:
- Full-depth squats (parallel or below) lead to significantly greater muscle growth and strength gains than partial squats, especially for beginners.
- Anatomical factors like hip socket shape and femur length limit depth for some individuals, while mobility restrictions such as ankle dorsiflexion and hip rotation are trainable.
- Improving squat depth relies on consistent mobility work, particularly ankle mobilization and hip openers, performed multiple times weekly for faster progress.
- Controlled progression, including assisted squats and pauses, enhances control and reduces injury risk while gradually increasing depth safety.
- Most beginners see noticeable improvements within four to eight weeks of dedicated mobility and technique practice, provided pain and joint issues are managed.
Depth isn’t just a technique detail; it changes your results. A 2021 meta-analysis found that full range of motion squatting (parallel or below) produced meaningfully greater strength gains (effect size 0.56) and greater muscle growth (effect size 0.88) than partial squats. Front thigh muscle size grew noticeably more with deep squats compared to shallow ones.
A 2021 meta-analysis found full-depth squats produce significantly greater hypertrophy versus partial-range training, a meaningful gap for anyone building leg strength from scratch.
Going deeper does increase joint load, so it’s a trade worth managing, not avoiding.
Some limits are built into your body. Others you can train away. Knowing the difference saves you months of frustration.
Your hip socket depth and femur length set a hard ceiling for some people, and that’s completely normal. A review of anatomical factors in squat technique found that hip socket shape and femoral version genuinely change how deep someone can squat with good form, which is why forcing a “universal” depth on every body doesn’t make sense.
Mobility restrictions, on the other hand, usually respond to consistent work:
Run three quick self-tests: the ankle wall test (how close your knee gets to a wall with your foot flat), a seated hip rotation check, and a filmed bodyweight squat from the side. If your heels lift before parallel, suspect ankles first.
Pro Tip: Film your squat from the side at a 45-degree angle. It shows heel lift and lower-back rounding far more clearly than a front-on video.
Most beginners see faster depth improvements from ankle work than from anything else, according to ACE’s approach to ankle mobility. Here’s a simple sequence to run before your squat sessions.
Our 10-minute beginner mobility routine walks through a version of this sequence if you’d rather follow along than build your own.
Pro Tip: Do this sequence 3 to 4 times a week, not just on leg day. Ankle and hip mobility respond better to frequent, short doses than to one long session.
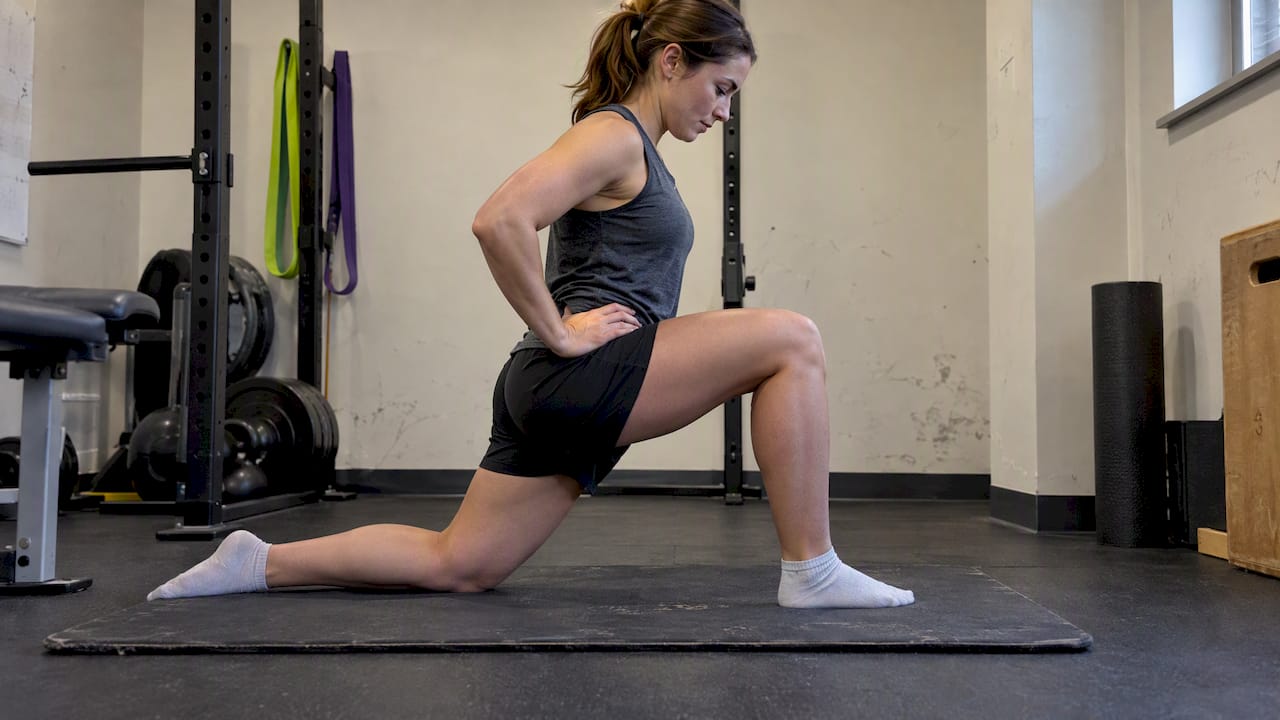
Depth means nothing without control. These cues keep you safe while you build range:
Progress through stages rather than jumping straight to loaded depth: start with assisted squats holding a rack or doorframe, move to goblet squats once you’re stable, add a 2 to 3 second pause at your deepest comfortable point, and only then start adding a barbell or heavier load.
Watch for signs you’ve gone past what your body can currently control. A scoping review on deep squats and knee health found that deep squatting is generally safe with correct technique and appropriate load, but technique is the key word. If you notice your lower back tucking under (often called butt wink), your heels lifting, or any sharp joint pain, that’s your cue to reduce depth or drop the load that session.
Pro Tip: A little muscle fatigue is normal. Sharp or pinching pain is not. Stop the set if you feel the second one.

Four weeks of consistent practice is enough to see real change in how deep and how controlled your squat feels.
A structured beginner leg day routine can slot right into this plan if you want the sets and rests already mapped out for you.
This guide draws on ACE’s technical squat standards and the research above, written by Alb for people who are new to structured training and want a plan that respects their current mobility rather than ignoring it.
Inside Onemor, our beginner leg day and mobility routine sessions build in the cues from this guide automatically: rep counts, rest timers, and form reminders that keep you from guessing. Our guided strength sessions pair you with coach-led cueing, which cuts down on the trial and error that usually comes with learning depth alone.
If you want more structured movement variety while you build squat mobility, Diet & Exercise’s beginner exercise list is a solid complement to the drills above.
We built Onemor to take the guesswork out of exactly this kind of practice. Inside the app, guided sessions walk you through mobility work, technical sets, and progress tracking so you’re not left wondering if you’re doing it right. Our tribe challenges and coach-led programs, like sessions from Coach Branden or Coach Kayla, keep you consistent without needing to plan a thing yourself.
Start with our Free plan to try guided squat and mobility sessions, or check out Pro for deeper coaching support. If you’re dealing with pain or a suspected injury, please see a physical therapist or doctor before continuing to train through it.
For most beginners, squatting to parallel or slightly below (deeper than 90 degrees at the knee) is a reasonable target, as long as your spine stays neutral and your heels stay down. A 2021 meta-analysis found full-range squats below 90 degrees produced greater strength and muscle gains than shallower partial squats.
A deep squat generally means your hip crease drops below your knee while your spine stays neutral and your heels remain flat. For beginners, this is a goal to build toward gradually through mobility work, not something to force on day one.
There’s no single depth that fits everyone, since hip anatomy varies from person to person. ACE’s technique guidance recommends thighs parallel or just below as a safe, effective target as long as your lower back doesn’t round and your heels stay grounded.
Research suggests depth matters more than load for early strength and muscle gains, with full range of motion squats outperforming partial squats on both measures. For beginners, it’s smarter to build comfortable depth first, then add weight once your form holds at that range.
Many beginners notice measurable improvement in ankle mobility and squat depth within four to eight weeks of consistent practice. If depth isn’t improving or you feel persistent pain despite regular mobility work, it’s worth getting checked by a physical therapist.