Core bracing is a 360-degree pressurization of your trunk that stiffens your spine before a heavy lift or a hard hit. You use it when the task demands real stability, like a max deadlift or a tackle, rather than as a constant setting you hold all day — see practical tips on building strength with limited equipment. Learn the pattern unweighted first, then load it gradually so your spine gets the protection without the risk.
TL;DR:
Core bracing is not the same as sucking in your stomach. It is a 360-degree pressurization technique that turns your trunk into a stiff, pressurized cylinder, according to the physical therapists at Restore Physical Therapy. Think of it like inflating a bicycle tire from the inside. Air pressure alone gives that tire its shape and strength. Your abdominal cavity works the same way when you brace correctly.
The technique co-activates a specific group of muscles working together as one unit, not just your six-pack abs:
This full-cylinder approach differs from “abdominal drawing-in,” an older cue that asks you to pull your belly button toward your spine. Research comparing the two methods found that bracing tends to outperform drawing-in for core stability across several measures, though Dynamic Neuromuscular Stabilization (DNS) offers a more balanced activation pattern that some coaches prefer for certain movement goals.
Bracing gives you three real payoffs: it protects your spine under load, it improves how force transfers from your legs and hips into a barbell or an opponent, and it can ease certain back pain symptoms over time. A randomized pilot study found that adding abdominal bracing to a standard spinal stabilization program improved back extensor strength, pain scores, and function compared to stabilization exercise alone, according to research published in PMC.
That does not mean you should brace constantly. Match your effort to the task:
One safety flag matters here: holding your breath while bracing (the Valsalva maneuver) can spike blood pressure. Beginners and anyone with cardiovascular concerns should keep breathing steady rather than sealing off air completely, per guidance from Healthline.
Getting the pattern right takes less time than most people expect, but it does take deliberate practice away from a loaded barbell. Here is the sequence physical therapists and strength coaches use to teach it.
The core bracing cues, in order:
Once the cues feel automatic, build the skill through positions that add difficulty gradually:
Run this as three sets of five to eight breath cycles per position, two or three times a week, before you move to the next stage. Use your hands as feedback: press your palms flat against your lower abs and obliques and feel for even tension on both sides. That simple check catches asymmetries most people miss.
Pro Tip: Practice bracing during your warm-up sets, not just your working sets. Doing five slow, deliberate brace-and-breathe cycles before you touch a bar trains the pattern into muscle memory so it shows up automatically when the weight gets heavy.
Bracing too hard, too often, is one of the most common errors beginners make. A constant, maxed-out brace burns energy, restricts natural breathing, and can actually interfere with the dynamic force transfer your body needs mid-lift, according to guidance from the American Council on Exercise.
Watch for these specific problems:
If any of these show up consistently, dial back the load, slow down, and rebuild the pattern from the hook-lying position again.
Pro Tip: If you notice pelvic pressure or leaking during bracing, cue a gentle pelvic floor lift (like stopping the flow of urine) at the same time you brace, rather than bracing harder. This pairs the two systems instead of overloading just one.
The timing of your breath changes slightly depending on the lift.
A lifting belt can help here, but understand what it actually does. It gives you something to push against, sharpening your feedback and slightly boosting intra-abdominal pressure, but it is not a substitute for the muscular brace itself, according to Restore Physical Therapy. A proper brace pushes outward against the belt; the belt does not create the brace for you.
If you feel tension leaking mid-rep, dizziness, or your ribs flaring outward, stop and reset. Rib flare usually means you skipped the “ribs down” cue. Dizziness often signals you are holding your breath too long, particularly on lighter sets that never needed a max Valsalva in the first place.
Skill acquisition here follows a predictable curve: awkward and conscious in week one, increasingly automatic by week four.
Guided sessions can shorten that curve considerably. Structured programming with built-in rest timers and progression tracking takes the guesswork out of when to add load, which matters most in weeks two and three when form still needs close attention. Pairing bracing drills with a beginner core workout or a beginner back workout gives the pattern real context instead of practicing it in isolation.
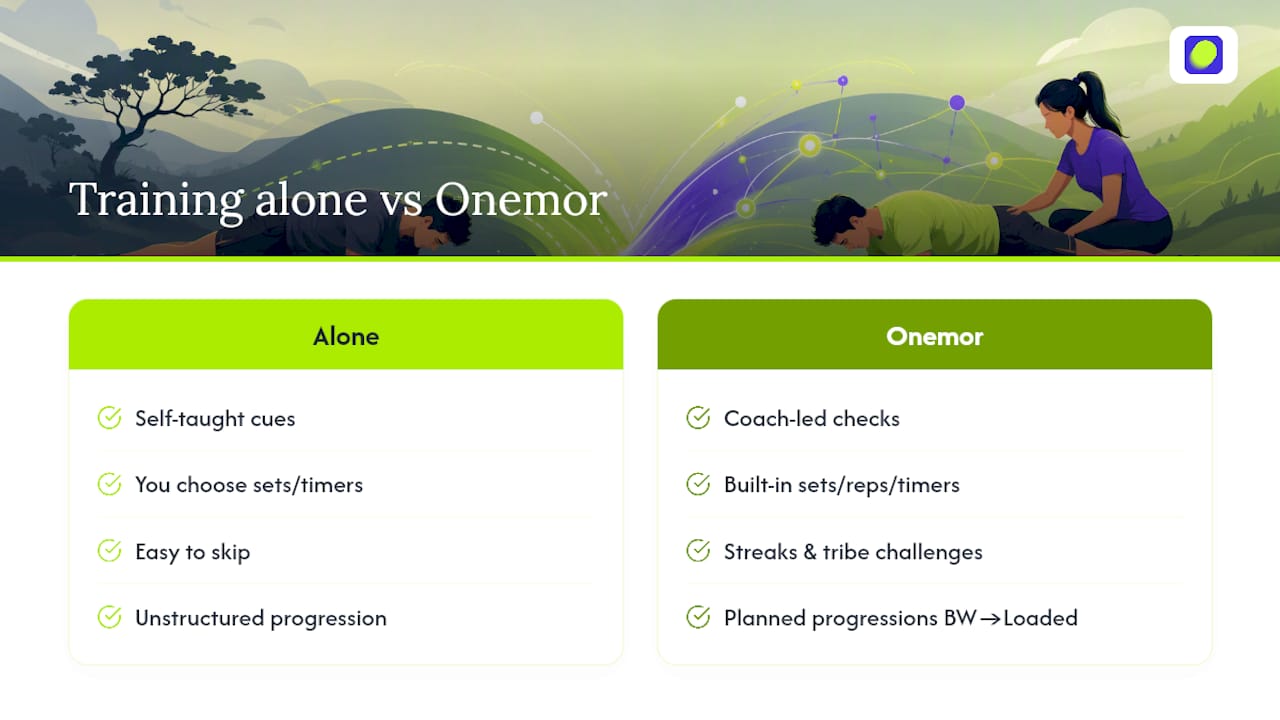
Learning to brace properly is a coaching problem as much as a knowledge problem. You can read every cue in this article and still lose the pattern under a heavy bar without someone checking your form and keeping you consistent. That is where Onemor fits.
Some fitness apps offer guided, coach-led sessions with built-in sets, reps, and rest timers, so you are not guessing how long to hold a brace or when to progress from bodyweight to loaded lifts. Features like streaks and tribe-based challenges help users stay consistent with the two or three sessions a week that this kind of skill actually requires, which matters more than any single perfect rep. If you are working through the 4-week plan above, coaches like Coach Branden or Coach Kayla can walk you through bracing progressions inside structured programs built for exactly this stage of training.
Start with the free workouts on the Onemor app and work bracing into your very next session instead of treating it as a separate drill you never quite get to.