Follow this simple path: regressions first, then a standard plank, then a longer lever, then controlled movement. Master each stage with clean form before you move on, and you’ll build core strength that actually holds up in real life, not just on a stopwatch, highlighting the importance of functional fitness. The sample 4 week plan below gives you a structure to follow so you always know what’s next.
TL;DR:
- Progression through different plank variations emphasizes mastering control and form before increasing difficulty or duration to prevent injury and build true core strength.
- The recommended plan involves starting with wall and incline planks, then moving to knee, forearm, and high planks, before advancing to longer lever and dynamic variations as form improves.
- Consistency, proper form, and regular reassessment are crucial, with at least two dedicated plank sessions weekly, avoiding rushing and focusing on mastery first.
- EMG studies indicate that variations like decline and suspended planks generate higher muscle activation, emphasizing movement-based progress over static hold duration.
- Coaching cues such as ribs down, neutral pelvis, and shoulder stability help prevent common faults like hip sag or piking, which signal a need to regress rather than push through pain or poor form.
You don’t need to grind through longer and longer holds to get stronger. Instead, you climb a ladder: easier positions first, then a longer lever, then movement. Here’s the order that works, along with what to aim for at each rung.
Pick your starting point honestly. If a knee plank already shakes by 20 seconds, start there. If a standard forearm plank feels easy for a full minute, skip ahead to long lever or decline work rather than repeating what you’ve already mastered.
Progress isn’t about grinding out one more second. It’s about hitting a clear standard, then moving forward with intention.
If your wrists complain in a high plank, drop to forearms or an incline version instead. If your shoulders ache, shorten the range and keep your elbows stacked directly under your shoulders. If your low back feels it more than your abs, shorten your hold and focus on drawing your belly button toward your spine before you add any more time.
Plan on two dedicated plank sessions a week, with lighter practice reps woven into other training days so the pattern stays fresh without turning into a grind.
Pro Tip: If you’re unsure whether to move up, film yourself from the side. If your hips sag or pike even slightly, stay at your current level one more session.
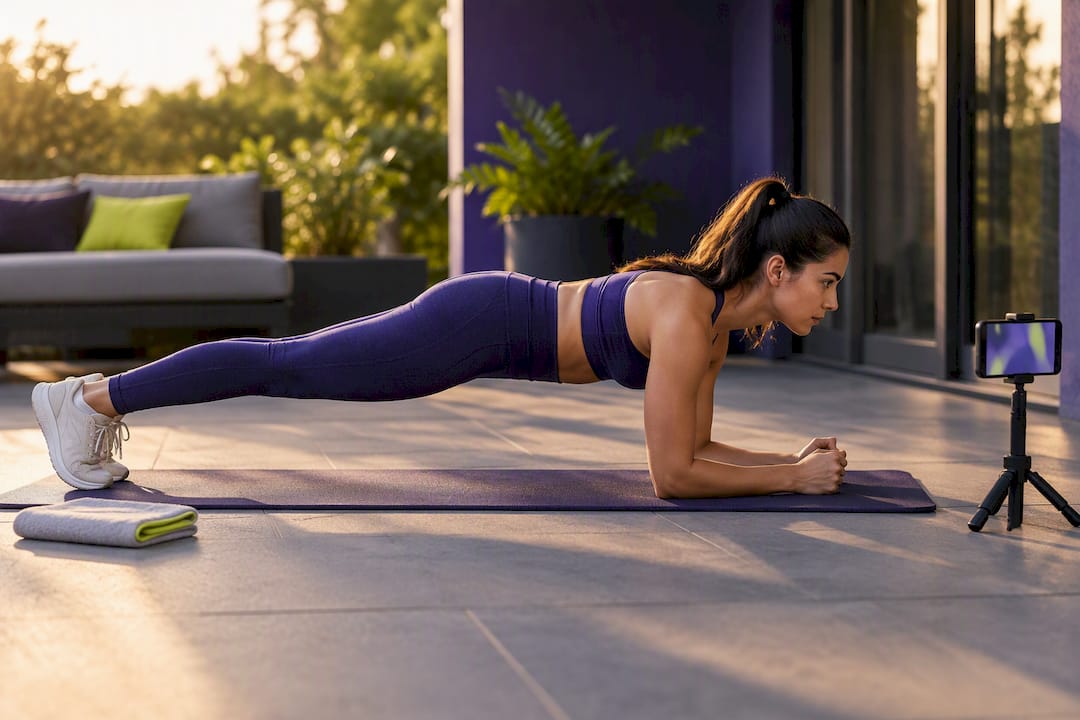
A plank looks simple, but small breakdowns add up fast once you increase the lever or add movement. Run through this checklist every time:
The two most common faults are hip sag, where your middle drops and your low back takes over, and the opposite, a piked butt that lets your shoulders do less. Both mean it’s time to regress, not push through.
Before you add difficulty, do a simple test: cough gently and feel whether your deep abdominal muscles tighten on their own. That reflex, often called TVA activation, is a rough sign that your core is engaging the way it should during a hold, and screening it before progressing helps you avoid compensating with your back. When your form breaks anywhere in the checklist, regress immediately rather than trying to grind out the last ten seconds.
This template moves you from basic control to a genuinely challenging plank in a month. Adjust the pace up or down based on how your form holds up.
If week 2 still feels shaky, repeat it rather than rushing to week 3. If you’re moving through the checklist easily and holding perfect form well past your targets, jump straight into decline or dynamic work a week early. A simple session might look like two rounds of your current hold, followed by two rounds of a movement drill, with a minute of rest between each. Pair this with a short core routine like a beginner core workout on a non-plank day to reinforce the same bracing pattern from a different angle.
The science backs the lever and movement approach over simply holding longer. EMG research shows that long lever and decline plank variations produce significantly higher activation in your abs and obliques than a standard floor plank. Separate testing found that suspended and roll out plank variations produced the greatest upper and lower rectus abdominis activity among the exercises studied, which is exactly why they sit at the top of the ladder, not the bottom.
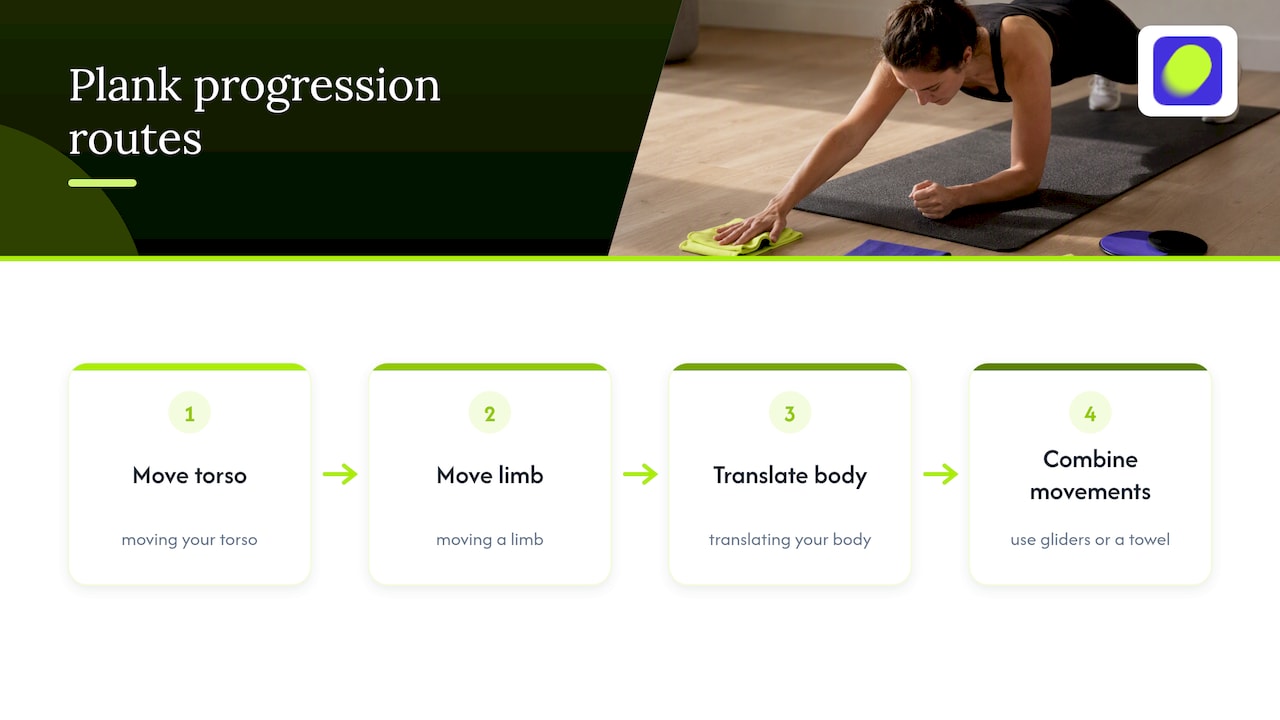
Coaching guidance lines up with this. ACE recommends progressing planks by moving your torso, moving a limb, translating your body, or combining these, rather than chasing longer static holds. Once your static control is reliable, tools like gliders or a towel let you add that movement safely. Warm up first, increase difficulty gradually, and check in with a doctor or physical therapist if you feel sharp pain anywhere, especially in your low back or wrists.
Following a written progression is one thing, having someone walk you through it is another. Onemor turns this exact plank ladder into guided sessions with built-in sets, reps, and rest timers, so you always know what to do next without second guessing your form. Streaks, XP, and tribe challenges keep you showing up, and coach-led programs give you the cues that keep your plank honest as you climb toward long lever and dynamic work. Start with the free plan to try a beginner core progression, or move into Pro for more structured programming as you advance.
There’s no single official standard tied to age, so the better benchmark is form quality, not a specific time. A clean forearm plank of 30 to 60 seconds with no hip sag or rib flare is a solid, safe target for most adults building general core strength.
Not necessarily. Research on core progression suggests that changing the lever, angle, or adding controlled movement, as recommended by ACE’s progression guidance, builds more strength than simply extending a static hold past the point where your form stays sharp.
Most people notice steadier core control and better posture within a few weeks of consistent practice, though the exact timeline varies by starting point and frequency. Following a structured progression, like the 4 week plan outlined above, gives you a clear way to track that change session by session.
A beginner starting with an incline or knee plank should aim for 3 sets of 20 to 40 seconds with full control before progressing. Once that feels manageable with clean form for two sessions in a row, it’s time to move to a standard forearm plank rather than pushing the same position longer.